


Looking back at your preliminary task (the continuity
editing task), what do you feel you have learnt in the progression from it to
full product?
Throughout
this year in AS Media, I have felt that we have progressed well in becoming
better at editing, films and utilizing different shots to match a certain genre
of effect. I believe that our two minute film shows off our capabilities in the
uses of technology, editing and visual effects. After having completed out two
minute opening film, it’s great to look back at previous tasks to see how much
we have improved since then. Looking back at our G321 Preliminary Task and
‘What are you doing here’ videos (https://www.youtube.com/watch?v=e_nMOOS5oio and https://www.youtube.com/watch?v=yFoWKDbPLW8 ), it is
evident that we have improved significantly because we have worked on our editing
and filming techniques.
In
out G321 Preliminary Task, we used four main editing techniques – shot reverse
shot, the 180° rule, eye line match, match on action and
also the rule of thirds. We also used each of these editing techniques and more
in our final two minute film, but we believe the way we have edited and filmed
it in our film is more effective and appealing to our selves and out target
audience. Our very first video we created was the ‘What are you doing here’
video. This was film using a small 1080p hand held camera and edited within
Adobe Premiere Elements 10. As this was our first time using that video editing
package, we weren’t very confident in our abilities to use it but luckily we
also knew how to use Sony Vegas Pro very well, so every other content made
after that was made using Sony Vegas. This transition between the two video
editing packages has paid off, as we wear able to use more advanced features
and create better edited videos. Our Preliminary Task was planned, filmed and
edited all within less that 2 hour - and we were able to show off over four
editing techniques, use a multitude of camera angles and was able to colour
correct it to a satisfactory standard. At that time, we felt impressed with our
level of work, but when it came to the actual two minute opening, we had nearly
2 months to research, plan, film, edit and make any adjustments that could make
the film better.
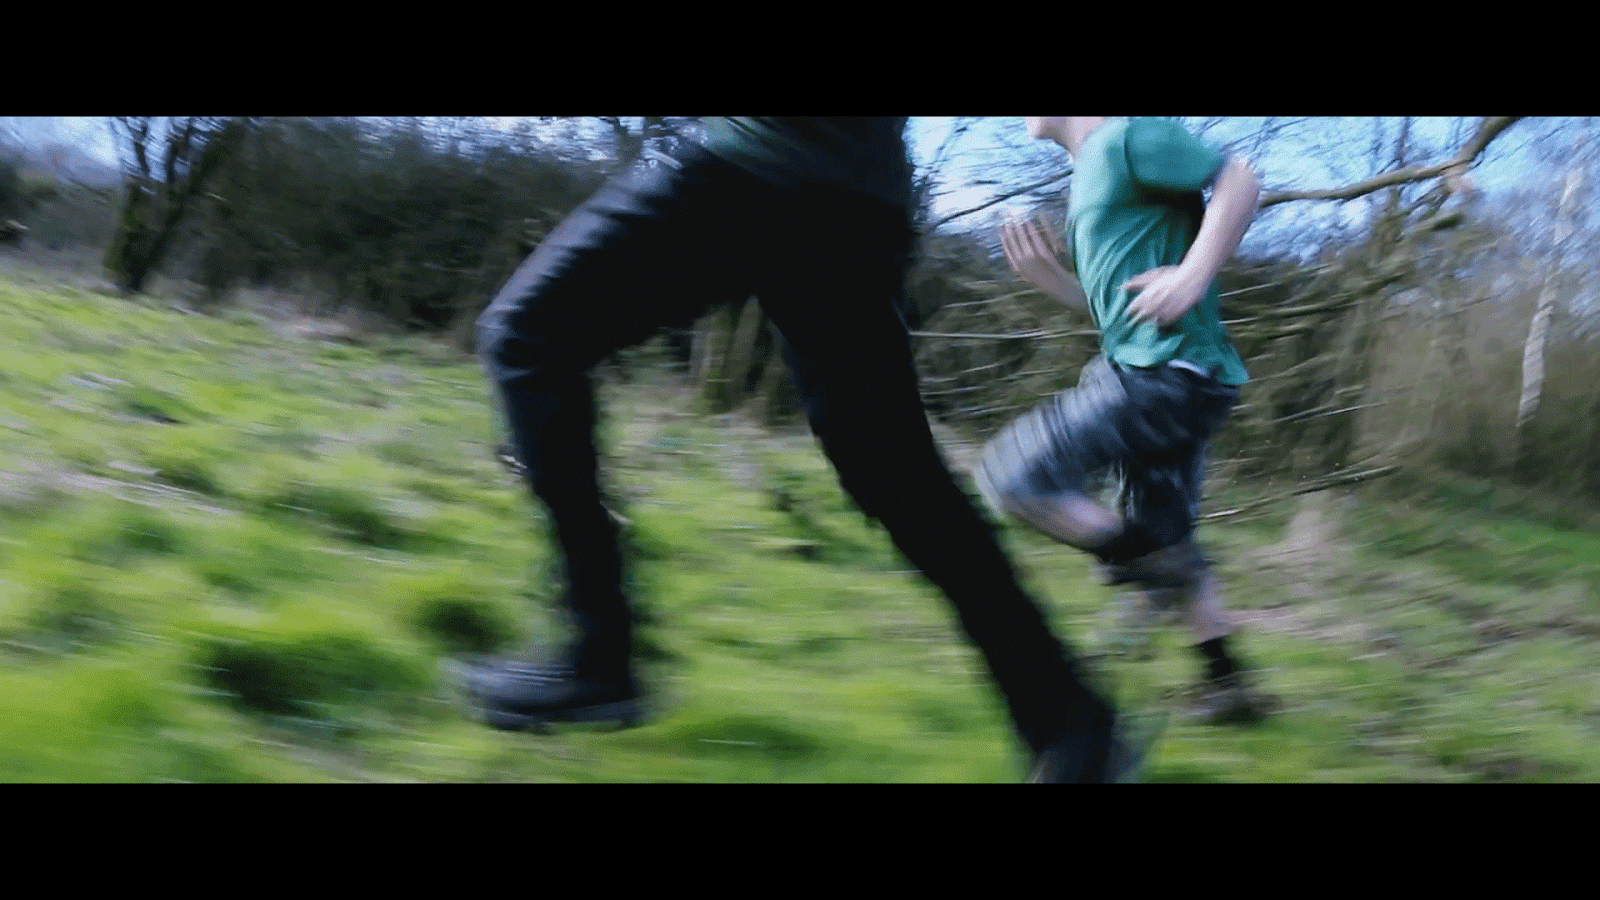
These
images below are form our G321 Preliminary Task which shows how we have used
different editing techniques. We also used all these editing techniques in our
final film, and more, to make our film more spectacular.
Match
on Action

Match
on action, also commonly called cutting on action, is an editing technique when
one shot cuts to another shot that matches the action. This match on action
shot shows a character opening the door. As I go to open the door, we get a
quick close up shot of me grabbing the handle and then a long shot from the
other side of the door. Match on action is very effective as it captures every
that is happening from different angles. This has to be films and edited
effectively otherwise it may break continuity and will leave the audience
feeling disappointed. Big movie productions companies may use multiple cameras
to achieve this in one take however we only has one camera to use so every time
we filmed it, the acting had to be exact.
Shot
Reverse Shot

Shot
reverse shot is a commonly used editing technique when one character is shown
looking at another character that is off screen. It then cuts to the other
character looking back at the first character. We used shot reverse shot to
exchange dialogue between two characters in the preliminary task and nearly
every other film will use the same technique when two or more characters are
exchanging dialogue. When using shot reverse shot, it also usually uses the 180° rule
because that camera generally stays on one side of the imaginary 180° line.
Eye Line Match

Eye
line match was used in out Preliminary Task to show the chair that one of the
characters pointed to. Eye line match is effective because the audience wants
to see what the character is seeing. We only used eye line match a few times in
our opening film and this is because we wanted to create a tense atmosphere as
the audience would want to know what the characters are looking at.
Rule
of Thirds

Rule
of thirds is used to place the subject within a third of the frame instead of
the centre. This makes the shot look more interesting and engaging as subject/s
are not always centred. We have used the rule of thirds many times in our film
opening and below are images of a few examples of where we have used them. Many
of the shots in our film use the 180° rule however we did have to use
some shots where the subject was cantered because this added more variation
between the different shots – making the film more interesting to watch.


Even
though we felt that we had created out two minute opening film to the best of
our abilities, there were some aspects that we felt we could have slightly
tweaked and made better. The acting in our opening film could have been a bit better
to make our film more believable, as that could have enhanced the audiences
experience when watching it. The used of diegetic sound and non-diegetic sounds
in our film were strong because we were able to use a good fast pace soundtrack
for the fast shooting scenes and a sad/emotional orchestra music for the final
scenes. Another very strong selling point was our uses of visual effects but we
could have also included more genre indicators such as explosions and more
antagonists to make this film look like a big budget film. This could have made
the film more thrilling and breath taking to watch – conforming to the action
and thriller film genre.
Overall,
we felt satisfied with our final film – The Alliance. We were able to utilize
appropriate camera shots, camera movement, editing techniques, sound,
technologies and visual effect to make our come to life and to achieve the goal
of creating a believable action and thriller film. Maybe next year when it
comes to creating a trailer, we can create an even more amazing product because
we will have had more experience and a better understanding of each specific
genre and what they should and should not contain.


